Not too long ago, I co-hosted Be My Galentine, a Galentine’s Day event with my friend and fellow fashion blogger Kat. It was our first local event in Orlando, and it went well! Kat and I decided to throw the event at the last minute, but it made for some good lessons learned. Today I’m sharing a quick recap with you all, as well as some things we learned and how we put everything together!

Step 1: Coming up with a plan
The first key to holding an event is having a plan. First, figure out what the purpose of your event is. The purpose of #BeMyGalentine was to bring women together from the Orlando community for drinks, fun, and a manicure nail art special at my favorite salon. Once you find your purpose, then you can brainstorm different venues, make a list of people you want to invite, how you plan on promoting the event, and all of the fun little things that will all be a part of your event. I’m a huge fan of lists, so I got really carried away when it came to making to-do lists for our event. I highly suggest making lists of supplies needed, people to contact (vendors, venues, other bloggers/companies for outreach), and a marketing plan. Kat and I made a marketing plan to include a promo shoot for the event (the pictures in one of my last posts), advertising on our Instagram stories and feeds, a Facebook event, and reaching out to people directly.
Step 2: Getting everything together
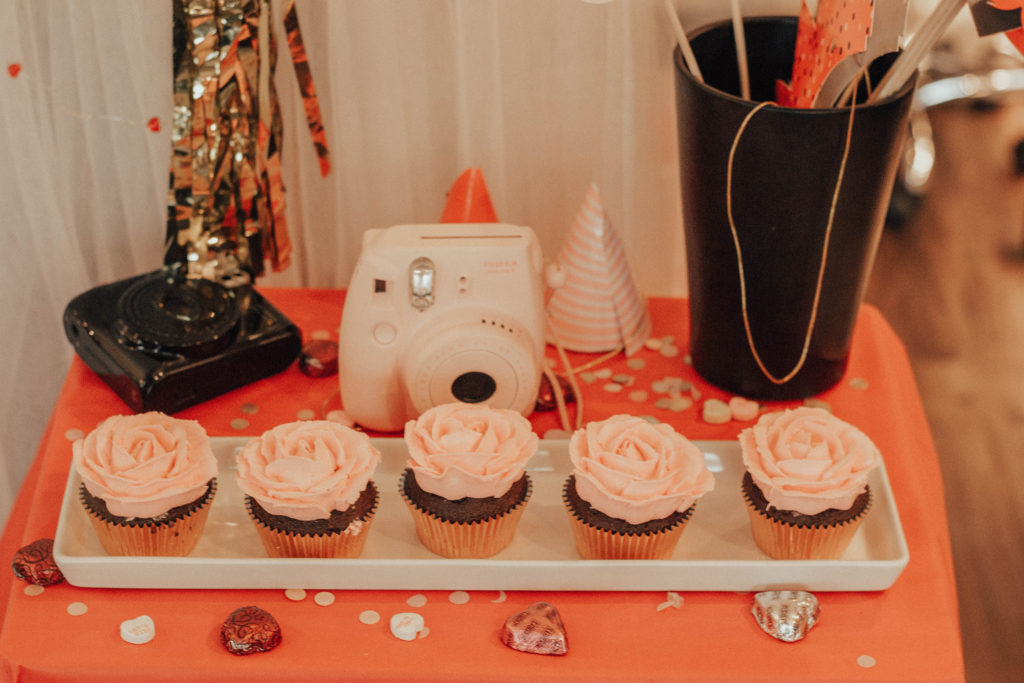
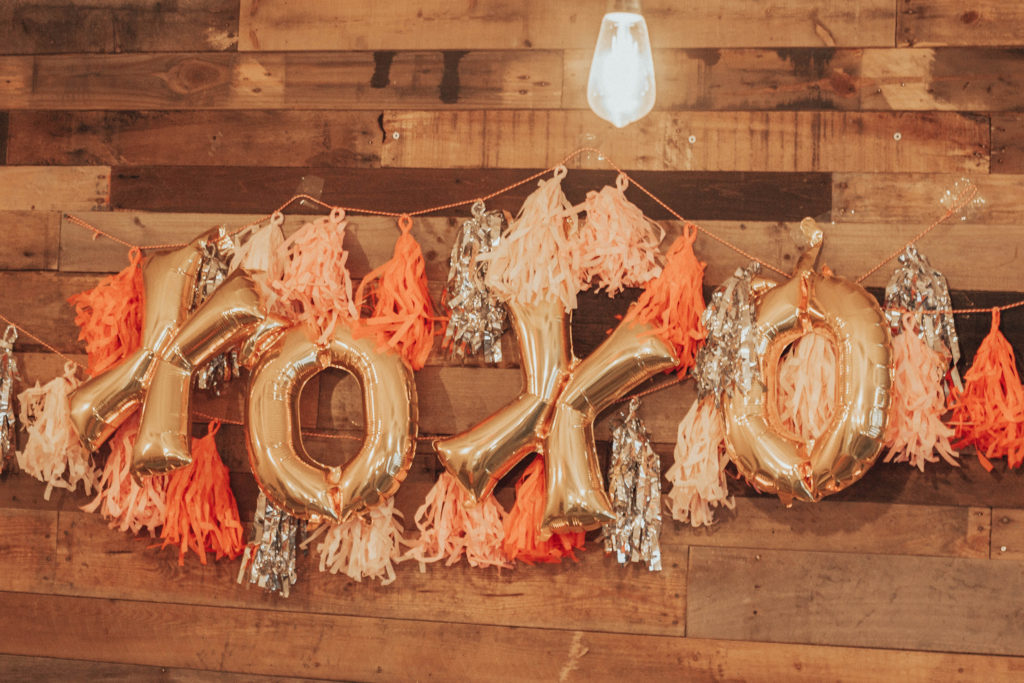
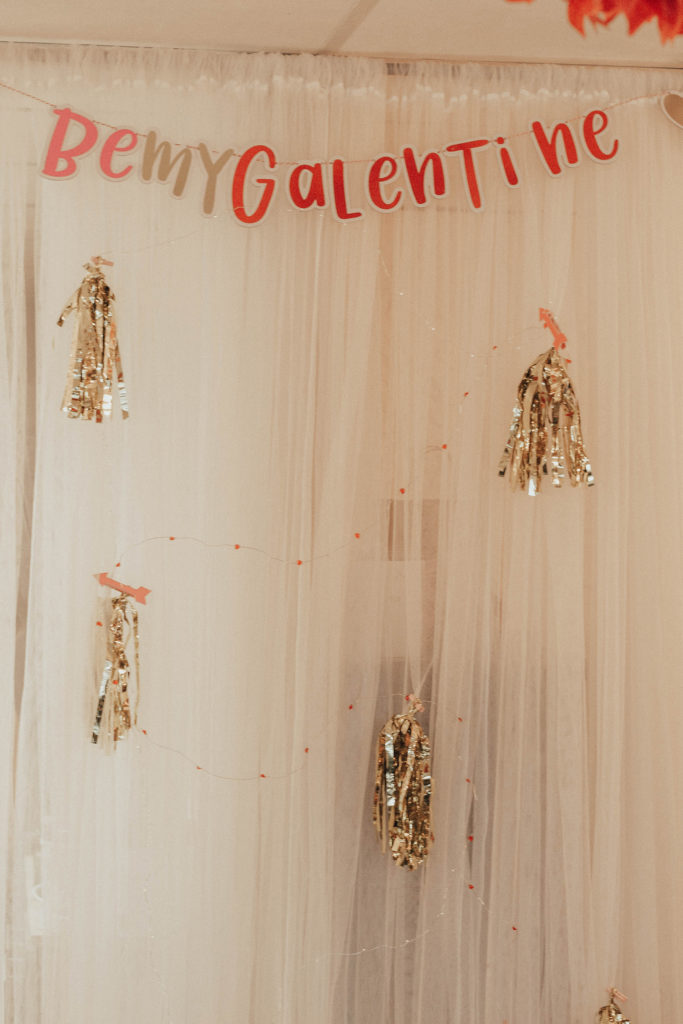
Once you have your lists made, you need to make sure you have your decorations, food, and any activities you want to have at your event. The main activities at #BeMyGalentine were the photo wall and the DIY lip scrub station. Kat and I searched some tutorials on DIY lip scrubs to see what materials we needed, then we used tools that we already had (Kat’s bar cart) or really cheap tools from Amazon/Walmart. Since we were holding the event in a salon, the essential oils were already there for us! I would definitely set a budget for supplies ahead of time so the total amount spent doesn’t get really ridiculous. For the photo wall, I used the white curtain that was already at the salon to drape lights and banners from the Target Dollar Spot/party section on. I also found a really cute Valentine’s day themed photobooth prop kit from Target! Kat and I mainly bought our supplies at Target, Amazon, and Home Goods/TJMaxx. We used local vendors for most of the snacks (the donuts, cake popsicles, and cupcakes) that we either worked with before or have heard good things about on Instagram.
Pinterest is a really good source of inspiration when trying to decorate a space; a lot of our decorations were inspired by some popular pins.
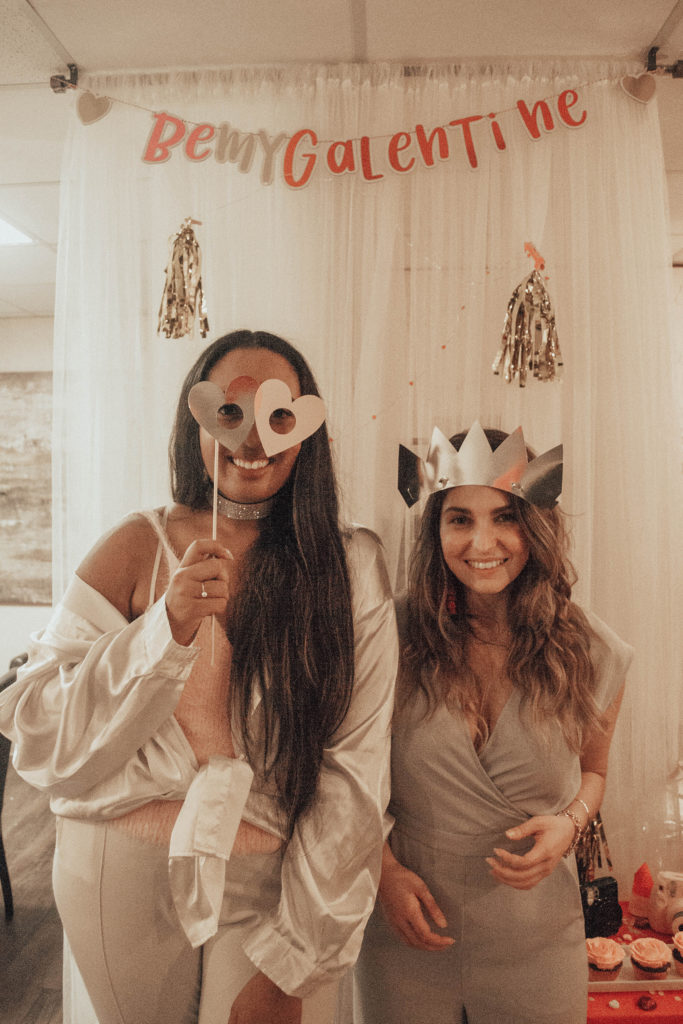
Step 3: Making sure the event runs smoothly
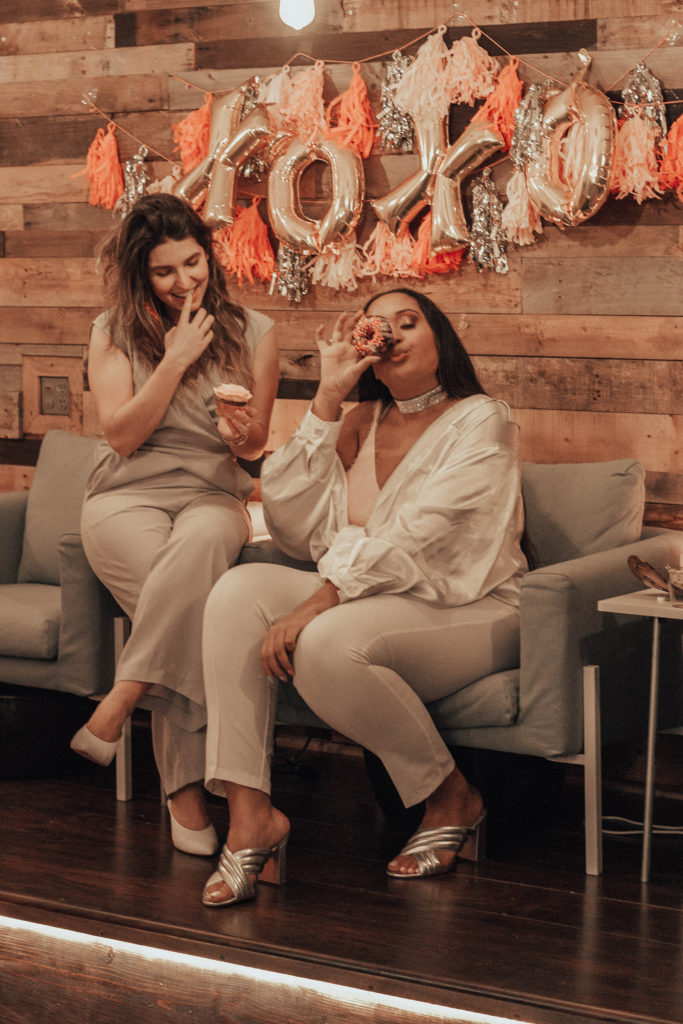
Once you have everything set for the event, your main duty is to ensure that your event runs smoothly. That means getting to the venue early enough to set up (and bringing some helpers with you), doing a rough run-through of the event, and being able to handle little things that come up that need to be handled. For Kat and I, that was running out of wine in the middle of the event, but Kat’s sister came in clutch and ran to get more wine for us. I’ll admit we were a little behind starting the event, but since it was in a more casual setting, we were able to get our guests to sip some wine and take pictures at the photo wall while we put the finishing touches on.
Overall, the event was pretty grueling to plan and execute, but I had so much fun! I can’t wait to plan more local events in the future. If you have some event planning tips I missed, please leave a comment below! And a special thank you to Nail Alchemy, the salon we hosted our event at, and all of the lovely ladies who joined us at #BeMyGalentine!

I dont think I couldve done it without you! Honestly, you make hosting events the most fun! I had the best time and so did everyone else 🙂
Xx,
Kat | DeliriumStyle.com
You’re the sweetest!! Thank you my love xx