Flatlays have been a part of my Instagram life for as long as I can remember, way before I started blogging. I have a bad habit of buying cutesy things like there’s no tomorrow, and flatlays are the perfect purpose for them. Some of the best flatly on the ‘gram, in my opinion, are the ones against a white marble surface. So today I’m teaming up with Orchard Supply Hardware again to show you lovelies how to make a marble flatlay board!
 What you’ll need:
– Marble contact paper (available in beige marble at OSH)
– A cloth/rag
– A 23 in. x 23 in. piece of plywood (from OSH)
– Scissors
This is another DIY project that takes less than ten minutes to do, and you’ll have enough contact paper left over for anything else you want to marbleize!
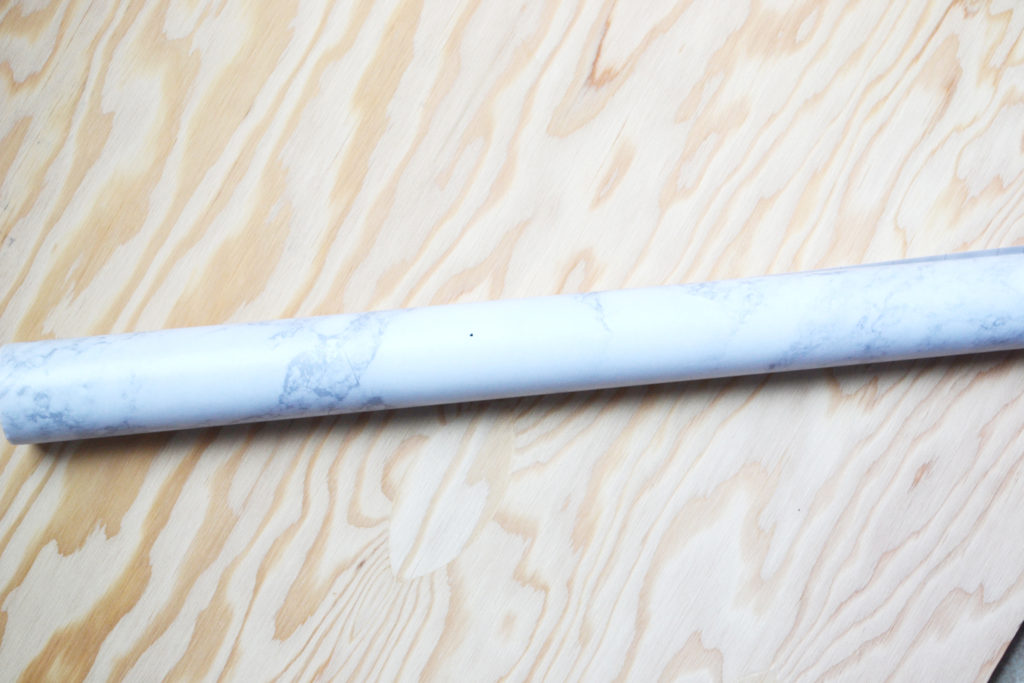
1. Make sure to clean the plywood board with a damp cloth/towel so the paper has a clean surface to adhere to.
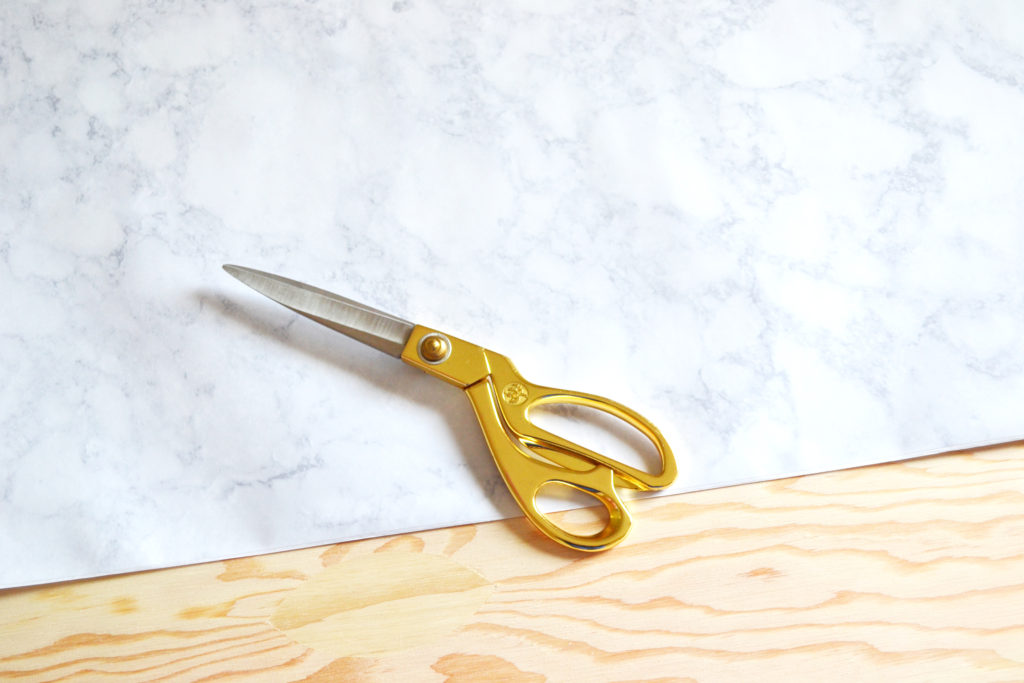
2. Cut the paper so that some of it will wrap over the edge of the board. There’s a chance that you might have to do this twice, if the paper isn’t long enough – just make sure you do it even more carefully the second time around!

3. Smooth the paper down the same way you would smooth down an electronic screen protector, so you get all of the air bubbles out.
And…that’s it! Three easy steps. So what do you do once you have the marble flatlay board?
– Grab at least four items. My go-tos are lipstick, flowers, sunglasses, and a wallet or card case.
– Pick a color scheme. Pinks, neutrals, blues, what have you.
– Play around with angles. Once you review the first set of pictures, you might find an arrangement that looks even better!
– Place your flatlay board near good natural light. There’s always editing, but honestly, nothing beats natural light.
Now you’re on your way to creating the perfect flatlays!

This is great!! Awesome job! I did almost the same thing but I used a foam poster board from dollar tree haha.
Xo, Nikki | http://www.thefashionableaccountant.com
The Real Person!
Author Nubiana acts as a real person and passed all tests against spambots. Anti-Spam by CleanTalk.
Thank you! Lol, that works just as well 🙂
xx Nubiana